Shoe pattern and Templates
A shoe pattern or template is a technical 2D blueprint of a designed shoe. Typically, a full shoe pattern comprises the upper pattern—the top detail of the footwear—and the lining pattern—the inner part of the shoe that touches the feet. When assembled, these 2D parts transform the shoe into a 3D product, ready for the next step in shoemaking: the lasting of the sewn upper. Understanding shoe pattern construction is crucial in shoemaking. It not only assists in creating the top parts of the shoe but also other essential components like stiffeners, insoles, soles, and heels. Hence, mastering this is pivotal for any shoe designer.
3 Shoe Pattern Making Methods
Geometrical Method
This technique involves constructing a shoe pattern without a shoe last. Instead, a pattern maker drafts directly onto cardboard using technical drawings. The process requires measurements from the shoe last, which are later used to refine the developed shoe.
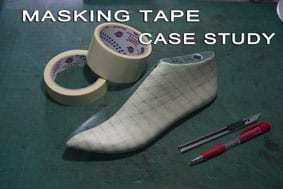
Making Pattern with Masking Tape
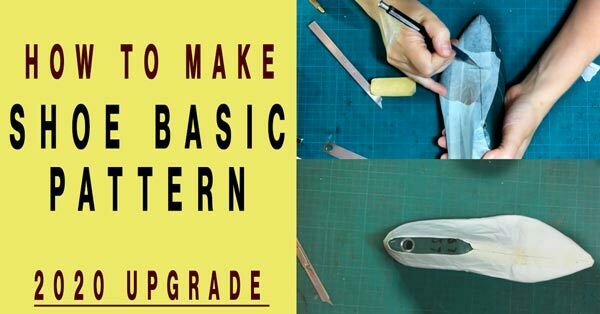
In this approach, a shoe last is covered with masking tape. The shoe's design is then applied, taking into account specific lines and points relevant to the type of shoe. This shoe pattern is transferred to cardboard, and from this cardboard Basic pattern, the final design details are developed. In our online shoemaking courses, we prefer this method, considering its simplicity and suitability for beginners.
FreeHand Pattern Making Technique
Developed by Sveta Kletina, this technique offers a shortcut to designing shoes through shoe pattern making.
General Steps of Shoe Pattern Creation
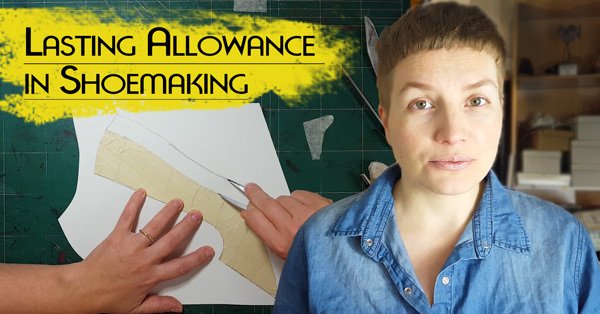
Regardless of the shoe type, the steps for pattern creation remain consistent. Differences arise in the design phase, where rules specific to each shoe type apply. Additionally, certain shoe details might be modified based on the sole construction. For instance, stitch-down sole making and cemented sole construction require different lasting allowances.
Shoe pattern creation steps:
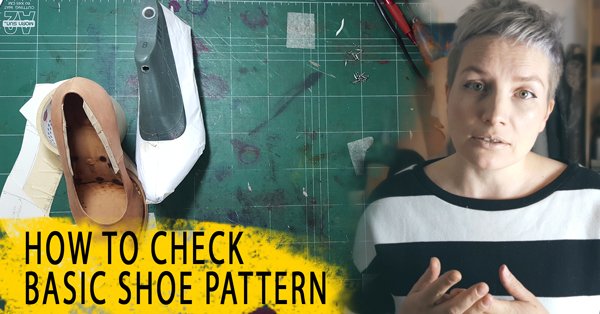
1.Design Transfer: After applying your shoe design onto a shoe last covered with masking tape, this pattern is cut out and moved to cardboard.
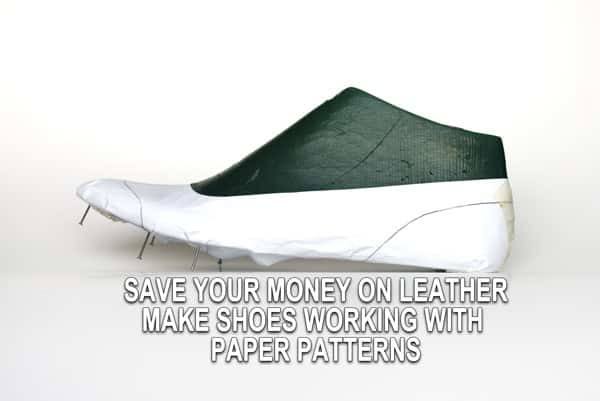
2. Mockup Creation: Next, ensure the pattern's accuracy by crafting a paper mockup. This crucial step impacts subsequent shoemaking stages, influencing both the comfort and appearance of the final product.
3. Detail Development: Once a correct basic pattern is obtained, it serves as the foundation for developing all necessary shoe components. Appropriate seam allowances are added to each part.
All these components are crafted from cardboard, later used as a template to cut leather pieces for the shoes.
Tools for Shoe Pattern
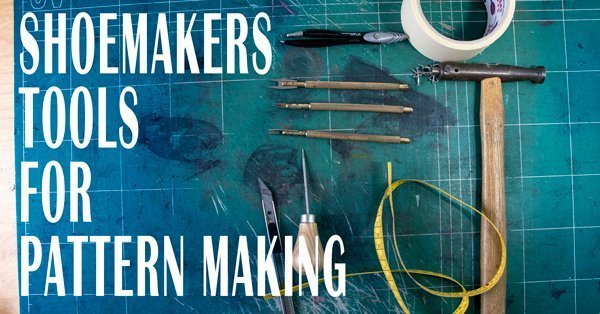
Contrary to what many might think, shoemaking doesn't require specialized tools for pattern creation. Most of the necessary tools can be sourced from local stores. Dive deeper to find a comprehensive list with descriptions of all the tools required for creating a shoe template.
Shoe Pattern Making and Design
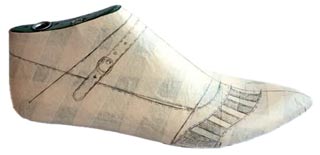
This category explores the artistry and precision of shoe pattern making.
From harnessing creativity through patterns to mastering specific techniques for various shoe designs, these articles provide insights and tutorials to enhance the aesthetics and functionality of footwear.
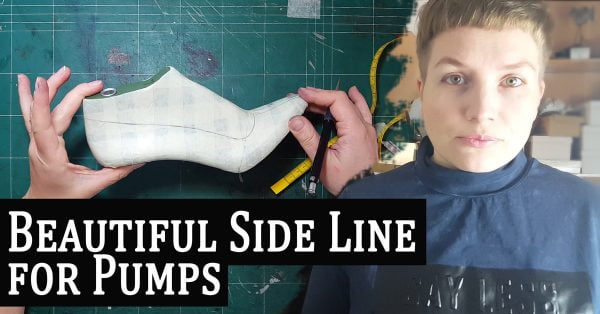
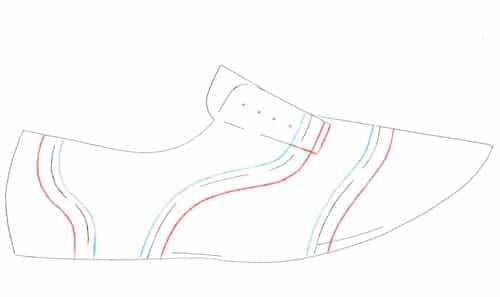
Whether it's drawing beautiful sidelines for pumps or crafting straps with buckles, these posts guide readers through the intricate world of shoe design.
Shoe Making Problems and Solutions
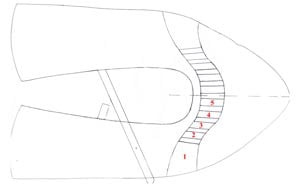
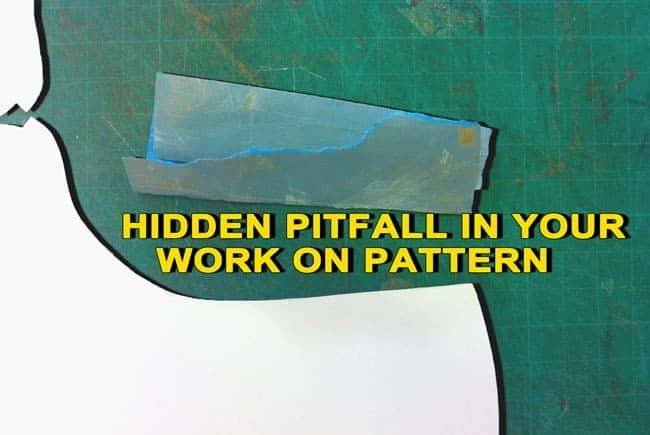
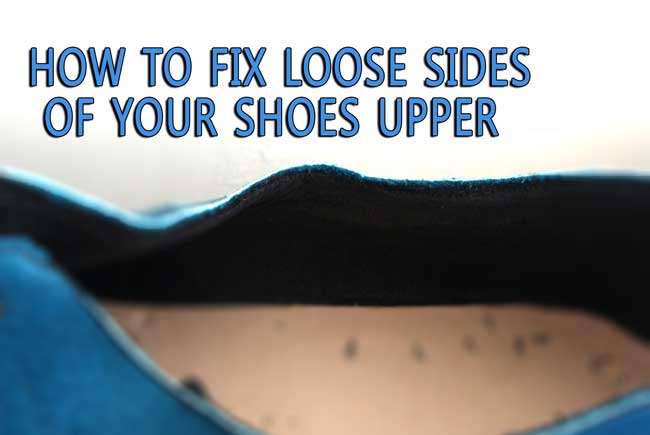
Focusing on the hands-on aspects of shoemaking, this collection offers practical advice and solutions for common challenges faced by shoemakers. From understanding the significance of specific markings on shoe uppers to mastering the technique of covering a shoe last with masking tape, these articles emphasize the importance of details in crafting high-quality footwear. They serve as a valuable resource for both novice and experienced shoemakers seeking to refine their skills.

